Warning: Never share your X (formerly Twitter) API keys or access tokens with anyone — including Aimkt developers.
These keys are for your personal use only and must be kept secure in your private environment.
Full control of your API access at all times.
This integration requires that you have a Slack Workspace
Step 1 Create Slack App
Head to Slack Applications Dashboard and select “From scratch”, fill out all the required Information.
Step 2 Set up OAuth Scopes and redirect URIs
The OAuth2 Redirect URI is the location where the provider will redirect to after trying to login. This needs to set to your Aimkt aimkt.xyz + /integrations/social/ + slack.
- eg: If you are running on a container, and your Aimkt URL is:
https://aimkt.xyz, then your OAuth2 Redirect URI ishttps://aimkt.xyz/integrations/social/slack - eg: If you are running on localhost, and your Aimkt URL is
http://localhost:4200, then your OAuth2 Redirect URI ishttp://localhost:4200/integrations/social/slack - eg: If you are running on localhost, and the provider doesn't accept http uris, and your Aimkt URL is
http://localhost:4200, then your OAuth2 Redirect URI ishttps://redirectmeto.com/http://localhost:4200/integrations/social/slack
You only need to set one OAuth2 Redirect URI when you are setting up your Aimkt app.
Head to Features > OAuth & Permissions
- Add the redirect URI (see above)
- At Scopes > Bot Token Scopes, add these Scopes:
- “chat:write”
- “channels:read”
- “users:read”
- “groups:read”
- “channels:join”
Step 3 Set an App Icon
Head back to Settings > Basic Information > Display Information Now set an Icon that meets these Requirements:
- It has to be an Square
- It has to be 512pxx512px to 2000pxx2000px If you do not set an App Icon, Aimkt won’t let you install the Integration.
Step 4 Copy Client ID and Secret
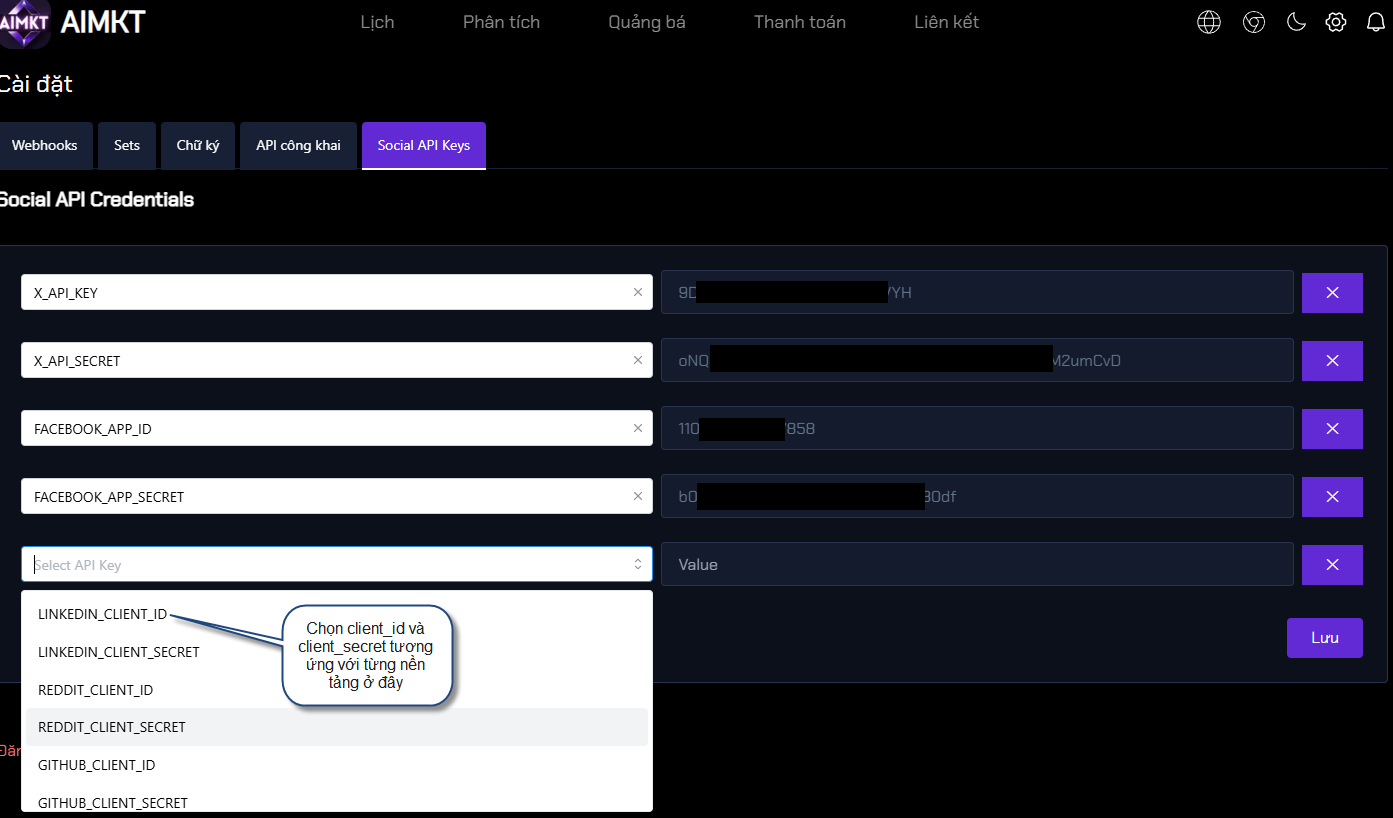
Head back to App Credentials, copy the Client ID and Secret and paste it to your setting:
Go to setting https://aimkt.xyz/settings => Click tab “Social API Keys” => Click button ”+ Add New”
SLACK_ID=""
SLACK_SECRET=""